Supplies:
- Empty wine bottles
- Glitter
- Mod Podge
- Mod Podge Rocks Stencil
- Mod Podge Pouncer
- Old Cookie Sheet
Step 1: Clean and apply stencil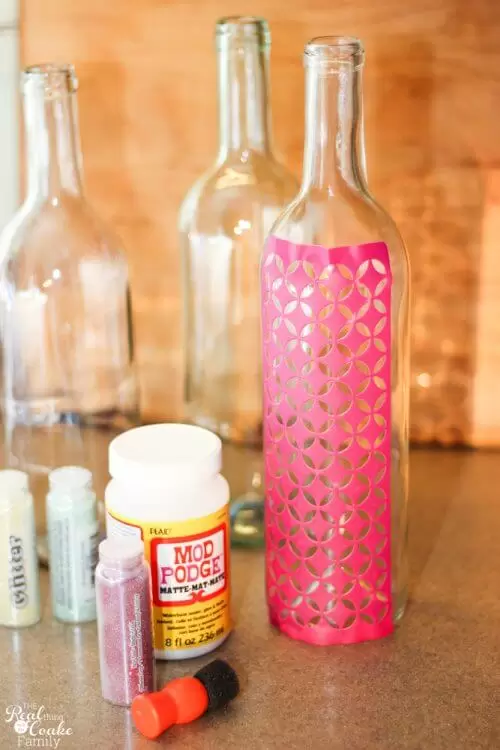
You will want to clean the labels off your wine bottles. After you have done that, just prep them by swabbing them with some rubbing alcohol.
Do a little pre-planning to figure out which way your stencil will best fit on your bottle.
I figured out that for one of my wine bottles the stencil was a perfect fit three times around the bottle. The other two bottles, I had to leave some room between each in order to make it around the bottle three times.
Place your stencil on the wine bottle in the direction you want to stencil.
Step 2: Add Mod Podge
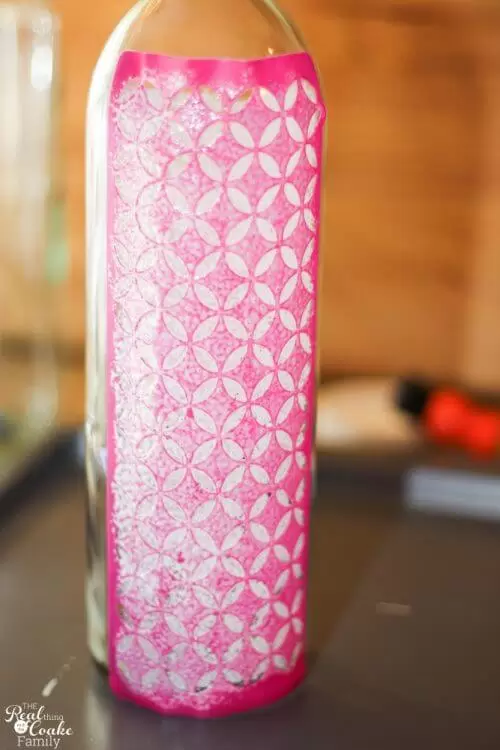
Carefully, use your pouncer to add Mod Podge to the bottle over the stencil.
Make sure you don’t accidentally get Mod Podge outside of the stencil or you will end up with glitter in those spots as well.
Step 3: Remove stencil
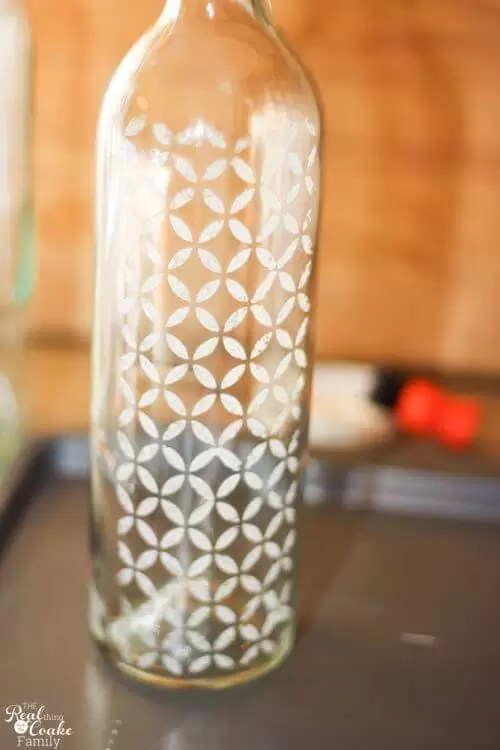 Remove the stencil from your wine bottle.
Step 4: Add glitter
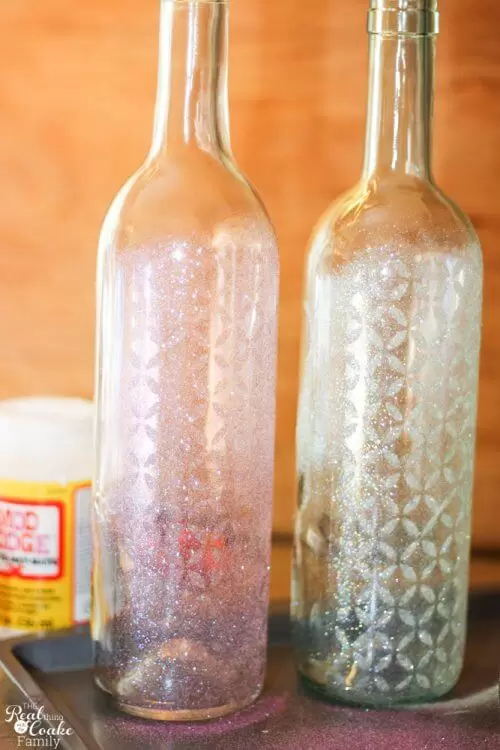
Sprinkle glitter over the Mod Podge’d area of your bottle. (I do this over an old cookie sheet. It catches all the glitter and reduces my glittery mess. Love ♥!)
Set your bottle aside to dry for 24 hours.
Wash your stencil before you go to the next bottle. Make sure to pat it dry before placing it on the next bottle.
Step 5: Wait and repeat steps 2-4
If you are repeating the stencil around your bottle, wait 24 hours after completing the first stencil on your bottle to allow it to completely dry. Then complete the first steps again at the next spot around your bottle.
The waiting time is the only thing that is a little bit of a pain about this craft. You have quite a bit of waiting time if you do three passes on your bottles like I did. I didn’t want to add the stencil to the bottle with all the loose glitter on it, so I waited until 24 hours later and the following step to repeat my stenciling. It ended up being a 3-day project. It was a very easy 3-day project, but still 3 days.
Step 5: Remove excess glitter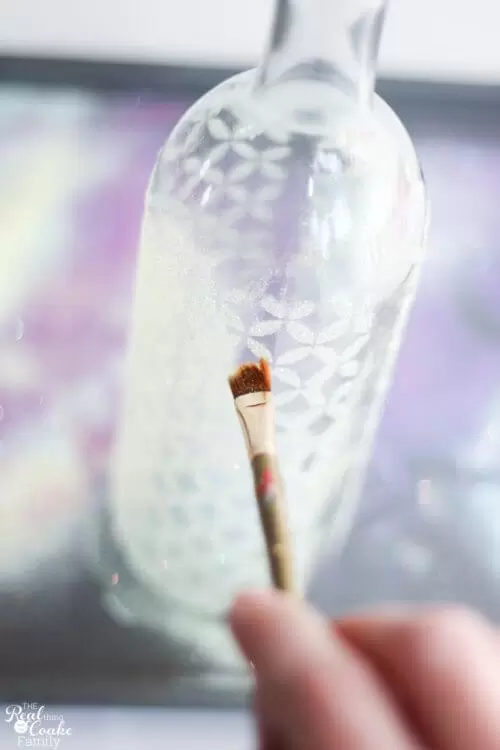
After 24 hours of drying, take a paint brush and gently remove the excess glitter from your bottle.
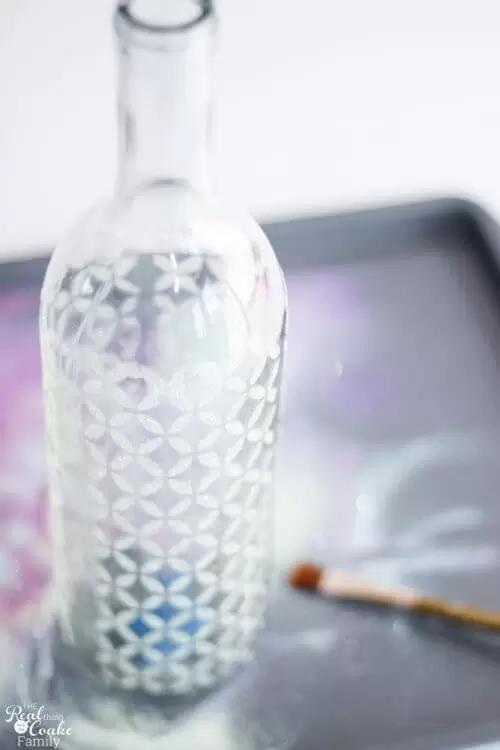
All done! If you are like me, all that waiting was worth it. I think these stencils are just gorgeous. I love the extra sparkle the glitter adds.
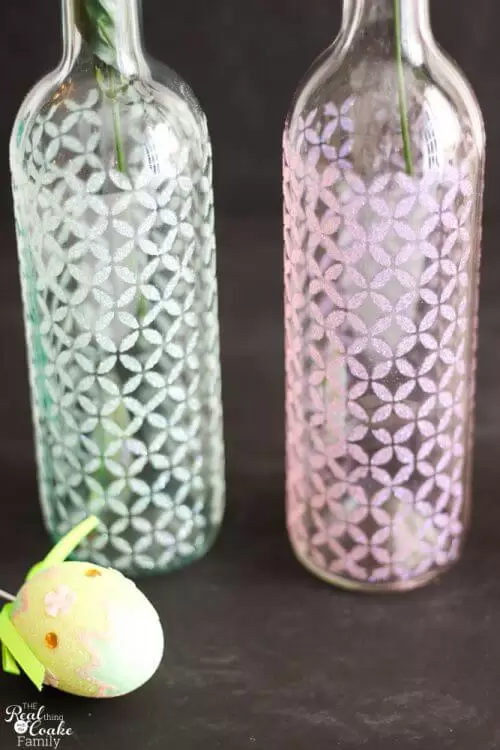
By: KC Coake
(Grabbed from: https://realcreativerealorganized.com/wine-bottle-crafts-make-spring-vases-%E2%99%A5/)


